Below is a compilation of top iPad tips for parents and teachers. These are were compiled based on the most common questions we get in the IT department. Please let us know if you have any questions!
Tips for Every Day |
Check on Open Apps
- Double click home button to see all of your open apps
- Quickly switch between apps
- Swipe an app up and off of the screen to close it
Quickly Access Useful Tools in Control Center
- Swipe down from top right corner to bring up control center
- You can modify what tools you want to see here in ‘Settings’
Split Screen
- Open the first app you’d like to use
- Swipe up from the bottom of the screen to see your dock
- Click and hold on the second app you would like to use
- Drag the app up and to the right or left side of the screen
- Move the black bar in between the two open apps to adjust their size
See All Tabs on Safari
- Click on boxes in top right corner or swipe fingers toward each other
Bookmark Sites
Find Your Bookmarks
- Click on the bookmarks icon
 on the top left of your screen
 - Click on the bookmarks icon
 again for it to go away
Create a Shortcut to Sites
Take a screen shot
- Click on the home and power button at the same time
- Click on the image in the bottom left corner to edit it right away (if you would like)
- Your image will appear in your camera roll
Project Your iPad on your Mac
- Open the Control Center by sliding your finger down from the right corner of your screen
- Click on ‘Screen Mirroring’ and select the name of the mac you would like to use
- If you cannot find the mac you would like to use, check that AirServer is on the computer and has not crashed
- On the mac: Click on the search button and type in ‘Activity Monitor’
- Search ‘AirServer.’ If it is red, select it and do a forced quit
- If you cannot find the AirServer, it may not be installed on your mac. Come to the Macquarium for further assistance.
- Click on the search button again and type AirServer. Double click on it to reopen the program.
- Check on your iPad again to look for the name
Tips for iPad Set-Up |
Organize Apps into Folders
- Press and hold on an app until it starts to shake
- Move that app on top of another app that would like to have in the same folder to create the folder
- Move other apps into the folder
- To change the folder name, click into it while apps are still shaking
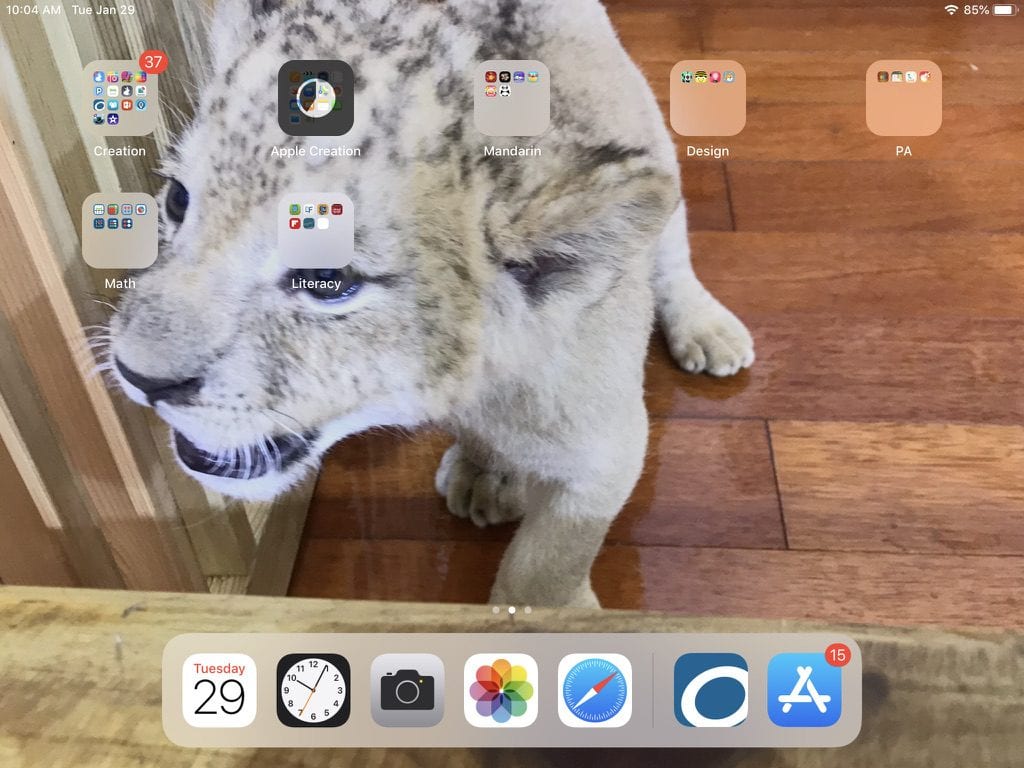
- We would like all students to have the following folder structure for school. All non-school apps can be organized how they like in a separate window
Modify Tools in Your Control Center
- Go to Settings > Control Center > Customize Controls
- Choose what tools you would like to use frequently
Control iPad Sounds
- Go to Settings > Sounds
- Make changes to any of the iPad sounds
Control Notifications
- Go to Settings > Notifications
- Customize the type of notifications you would like for each of the apps or turn notifications off
Tips for Trouble-Shooting with Students |
Turn on AirDrop
- Go to Settings > General > AirDrop
- Select ‘Everyone’
Use QRCodes to Share Links
- Go to https://www.qr-code-generator.com/
- Put the URL of the website you would like to share in the bar and press ‘Create QR Code,’ then ‘Download JPG’
- Project your QR code on your screen and have your students look at it through their camera
- An option to go to the website will appear on the top of their screens
Split the Keyboard (and Put it Back!)
- While the keyboard is up, click and hold on the picture of the keyboard in the bottom right corner of the screen
- Select ‘Split’ to split, ‘Merge’ to bring back together; ‘Undock’ to bring to the center of the screen and ‘Dock’ to bring back to the bottom of the screen
Change Student Restrictions
- You may need to do this to help students download or delete apps or modify other restrictions
- Go to Settings > Screen Time
- The code is the year your students will graduate (please DO NOT TELL THEM THE CODE)
- If you change ‘iTunes & App Store Purchases’ to allow deleting or adding apps, please change it back to ‘Don’t Allow’ when you are finished
