Leaving Students Computer Process
For leaving students, we have to re-image your computer. The following changes will happen:
1. Operation System: the operation system will be reinstalled but you will still get the Mavericks 10.9.5 system
2. Data: all your data, such as document, music, and videos will be removed
3. Application: You will get apple default applications. The school applications and your personal applications will be removed.
4. Wifi Connection: you will not be able to connect to MYP DP wifi. But you can connect to “Visitor” in Center. You will get the access password from Reception.
5. Mail Account: Your mail account will be disabled in six months after you leave.
Before we start the process, we would like you to safely backup all your data and De-authorize your account. Please make sure you have done it then bring your computer to us for re-imaging. It will take about one hour. Here are places you need to go for this process.
1. Room C103
Bring your computer to Room C103 for re-imaging and pick up your computer
2. Room C135
Bring your computer to Mr. Lockwood in Room C135 for checking and get your paper signed
Here is how you can backup all your data and De-authorize your account:
1. Backup your data
You will need to decide what data is on your laptop that you need to take with you. You may wish to copy all of your documents, music, videos and whatever else you are storing on your laptop. The best way to do this is to transfer these files to another device using an external hard drive. You have three options:
-
Use Time Machine with external drives
Setting up Time Machine is as simple as connecting an external drive to your Mac. If you haven’t already specified a backup device, Time Machine asks you when you connect a blank drive to your Mac if you want to use it for backing up.

Click “Use as Backup Disk” to select this drive as your backup destination.
Note: Your Time Machine drive needs to be formatted as Mac OS X Extended (Journaled). If you select an NTFS or FAT-formatted drive, Time Machine prompts you to reformat the drive. Important: Reformatting erases any files on the destination drive. If you’re not sure if you want to erase the drive you connected, choose a different drive.
-
Manually Copy Your Files to an External Hard Drive
You can simply plug in a hard drive and manually drag and drop the files and folders from your laptop to the hard drive but be warned, don’t forget about small files like bookmarks, or large files like music, photos and videos.
-
Cloud Storage
If you have personal cloud storage accounts, you may choose to add them to your MacBook and back up your files that way. This may take a bit longer, but you will have the comfort of having access to your files from any device. This is the best option if you do not yet have another personal computer or an external drive.
2. De-authorize your computer using iTunes
If you use Apple ID to download music and apps through iTunes, make sure you de-authorize your computer before you send it to us for re-imaging.
- Open iTunes on the computer
- Choose Store > De-authorize This Computer

————————————————————————————————————————————————————————
After your computer has been restored, you might want to do the following things to get it ready to use.
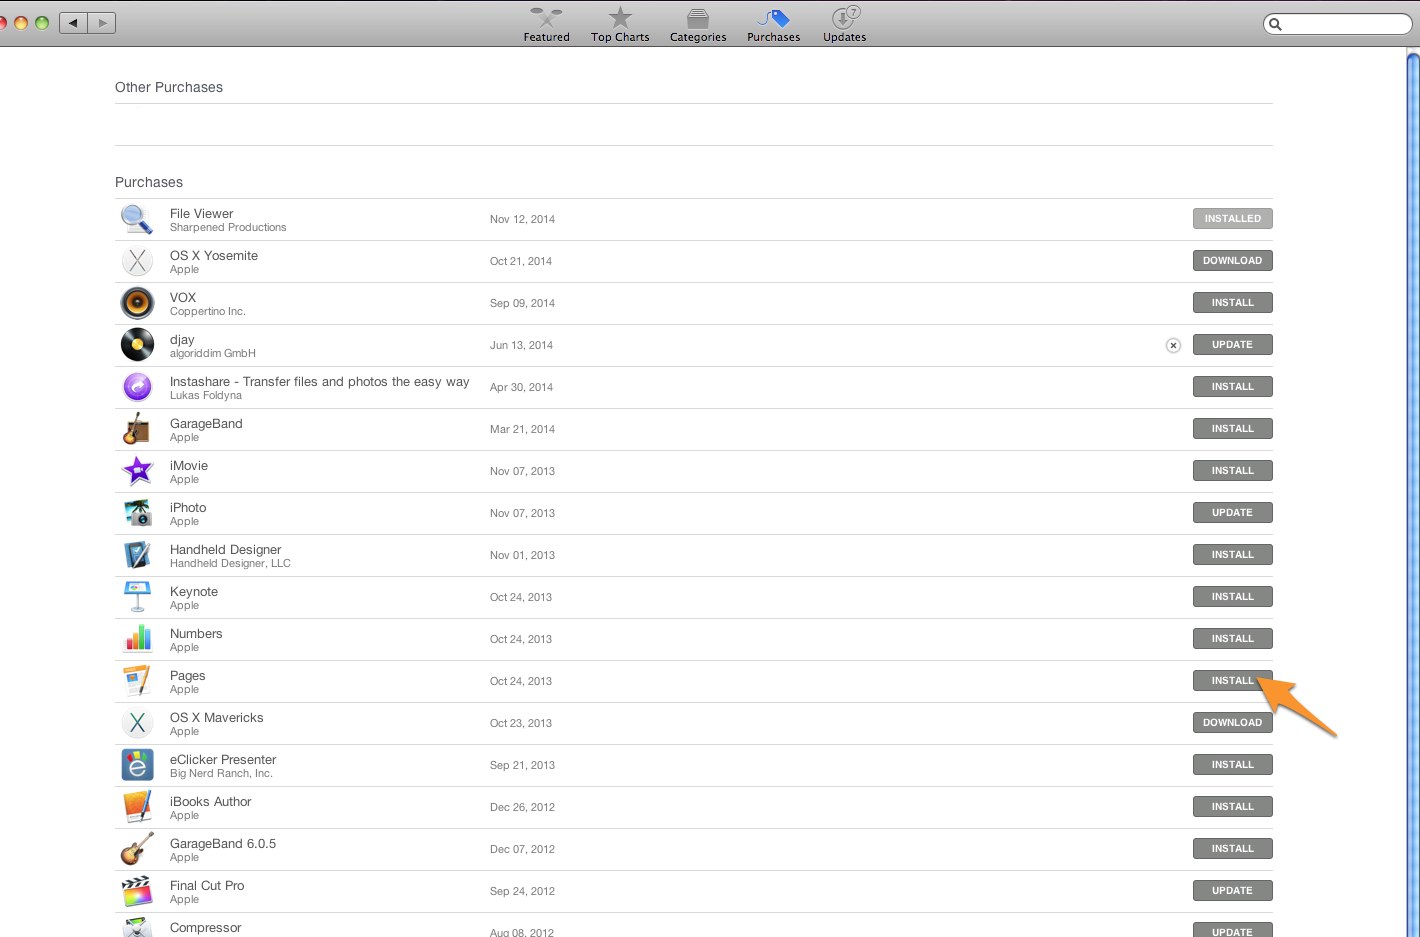
1. Install your applications
You can install purchased applications through App Store. You can also download the application you want from websites and install it. To install Applications through App Store, please open “App Store” then login with your Apple ID and Password. So you can see all your purchased applications. Press “Install” to install it.

2. Restore your data from your backup
- You can use the “Migration Assistant.app” to copy your account and home folder back to your computer. So you can have all your data back. You can find “Migration Assistant” from Application >> Utility folder
- You can also just drag files you want from your backup disk to your computer.
3. Set up your school email
Please check this website about how to set up your school email. https://share.nanjing-school.com/ict/how-to-set-up-your-school-mail-on-your-computer/
Your school email account will be kept for six months after you leave NIS. Afterwards you will not be able to receive nor send mails.
ALL THE BEST AND GOOD LUCK!